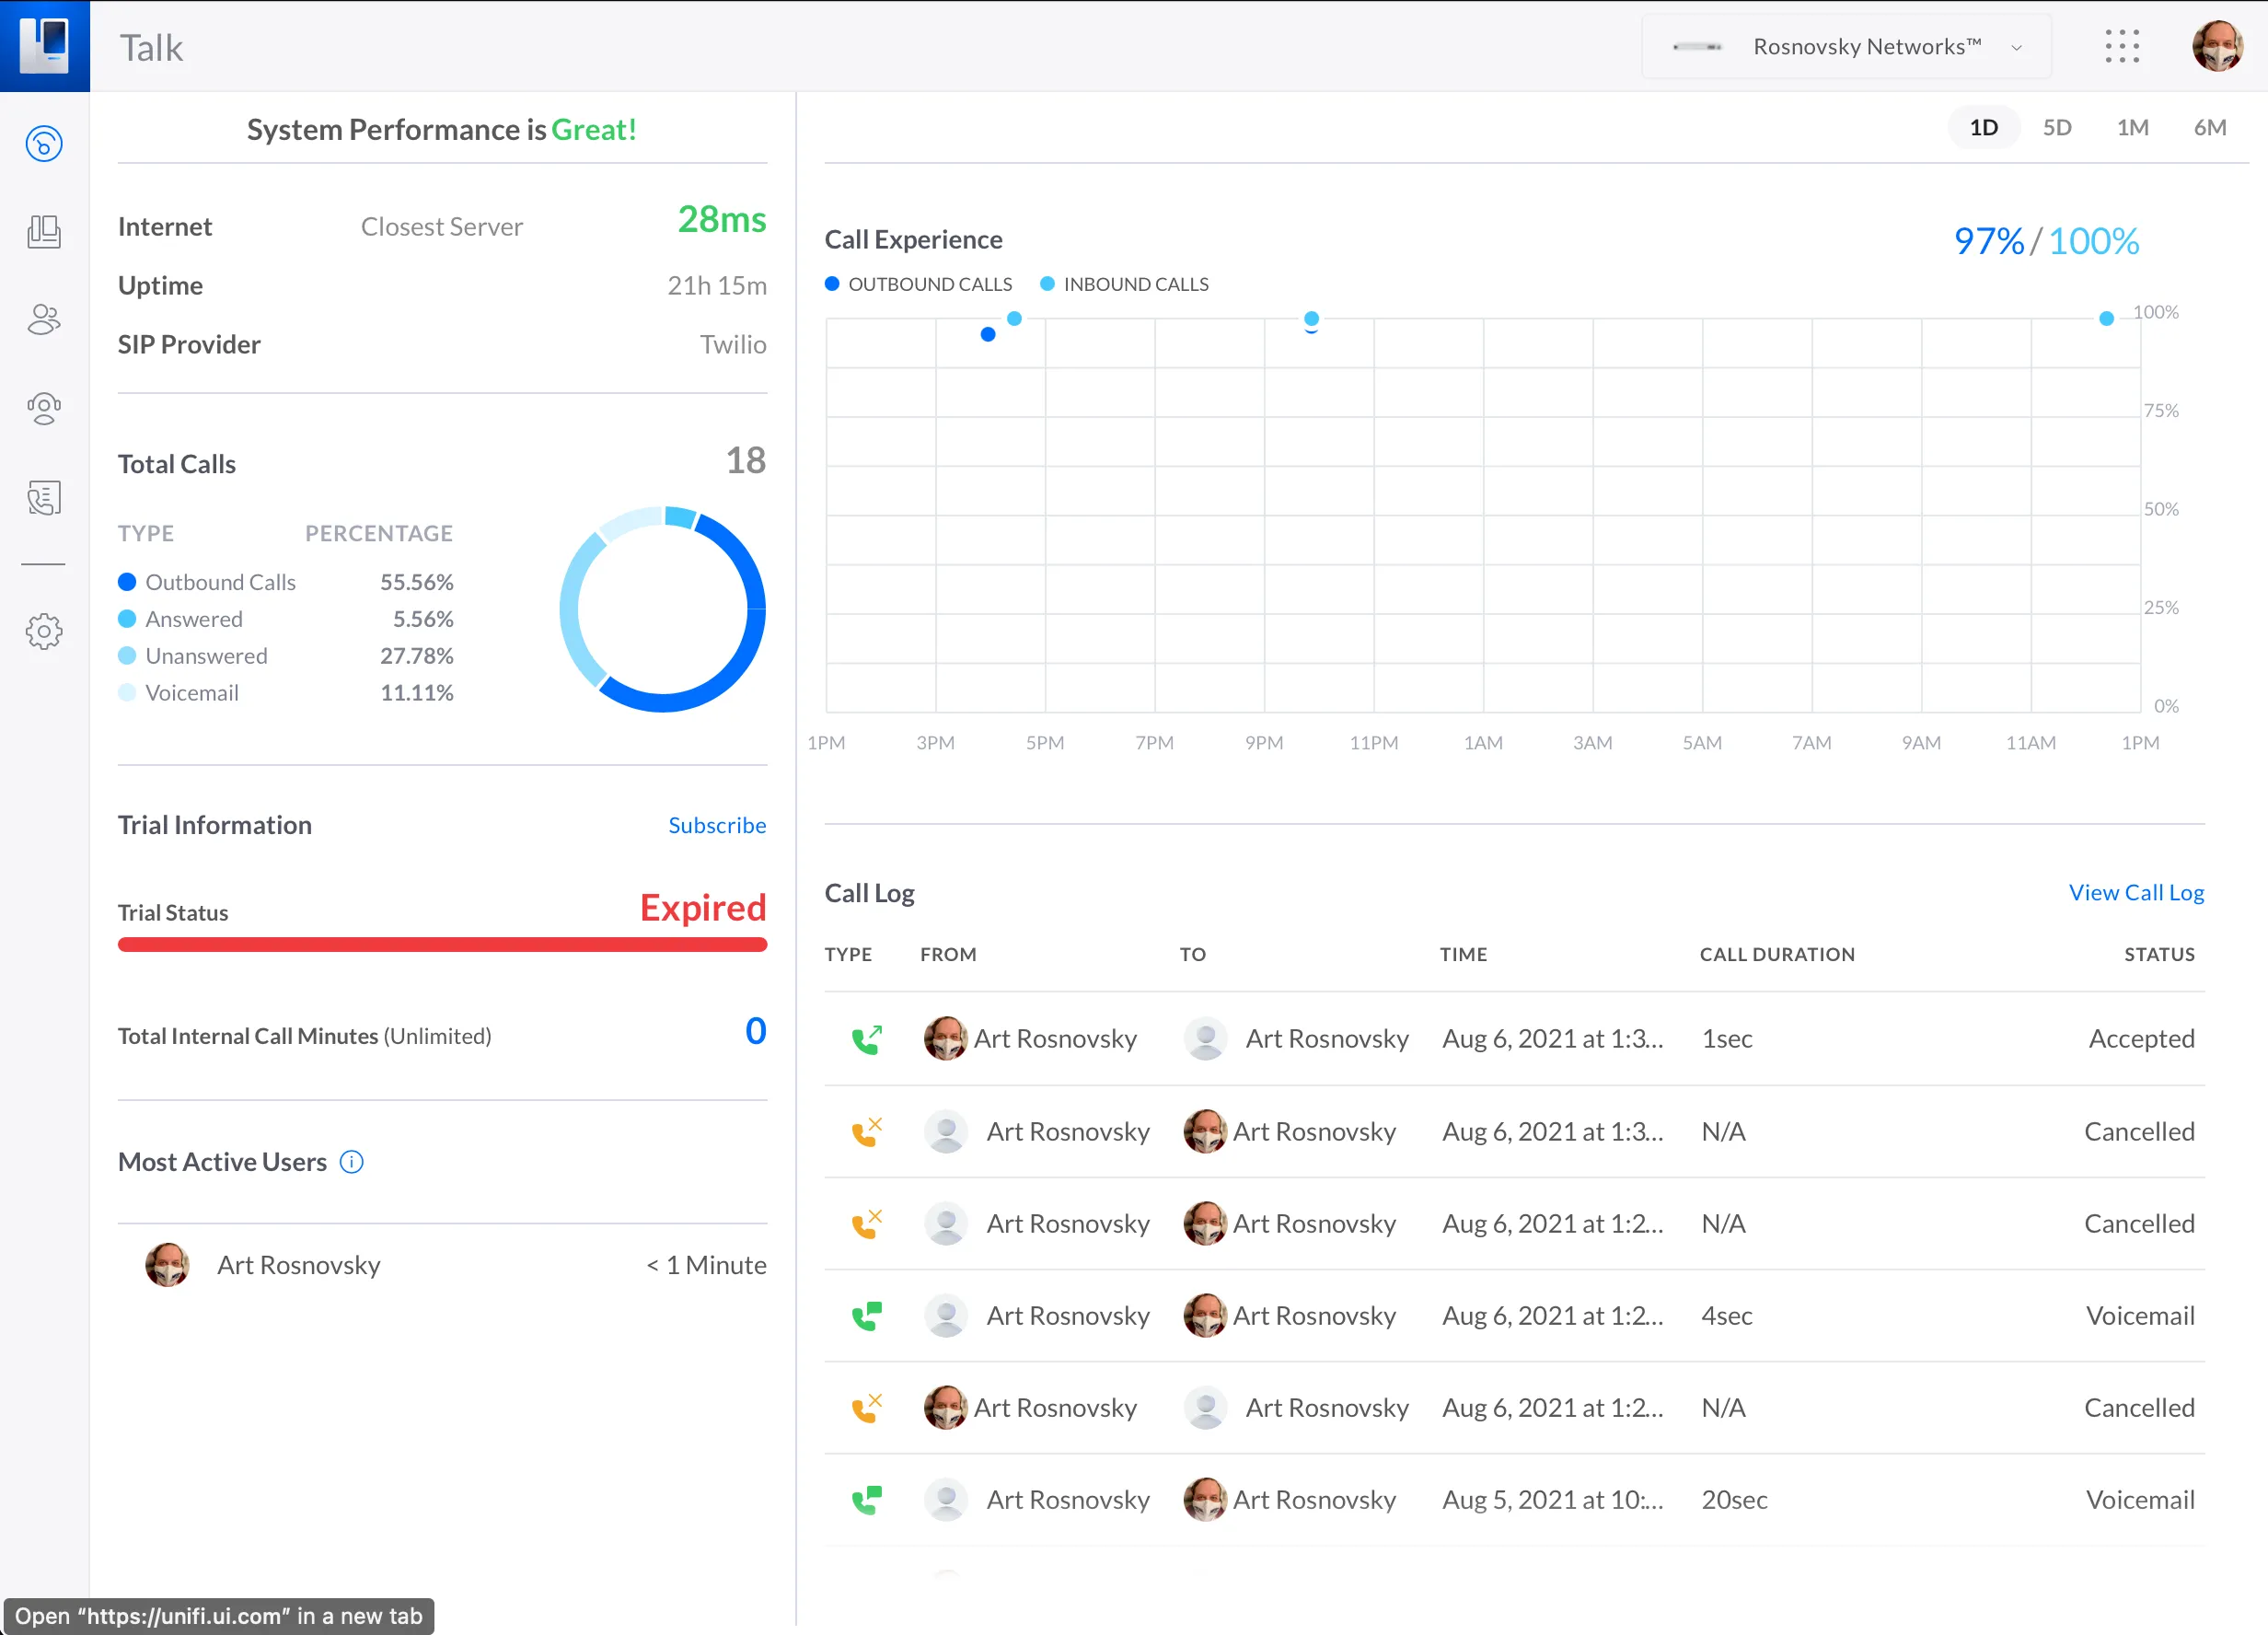
Configure Twilio SIP Trunk with Unifi Talk
Unifi Talk by Ubiquity is a very promising service. However, so far it's been lacking documentation. Here's how to configure Twilio SIP Trunk with Unifi Talk.

For those of us in the Unifi ecosystem, Unifi Talk is a cheap and really nice way to add home or home office phone to your network. I’m not 100% sure if a lot of folks still require a home phone, but I thought “why not” and went ahead and configured it.
I own Unifi Dream Machine Pro, and someday I’ll create an overview of my network, but for now, I’ll just focus on the phone configuration. I bought Unifi Touch, a nice-looking traditional phone device. You plug it in, set it up at unifi.ui.com, and you’re good to go with a trial number provided by Ubiquity. From this point, you can make and recieve phone calls. Easy.
Now, since there’s no adventure in this, I decided to add and use my own SIP with Unifi Talk. Now we are talking! Unfortunately, the documentation around this is minimal and lacking in detail. I’m going to try to document my process here.
Twilio
First things first. You need a Twilio account. You can sign up for a free trial at twilio.com and buy a phone number (it’s $1). With this new phone number in hand, head over to Voice services. There, in “Manage” section we’ll create a SIP domain. You’ll have something like mydomain.sip.twilio.com as your SIP domain. This part is pretty straightforward, and you could just use the default settings except for the IP address and credentials. You’d need to add an external IP address of your UDM (or upstream router), and for credentials, use your phone number as username (with country code, without +, e.g. 12345678910). Leave everything else as-is, save, and let’s deal with the SIP BYOC part.
Note: This
username === phone number without +is one of the biggest missing pieces in every doc I’ve found on the subject. Apparently, when there’s an inbound call, Unifi Talk will use theusernameto route the call to the correct phone/user/extension. If this username is not the same as your phone number, you’ll get an error along the lines of “No route exists, aborting” (you can check this by SSHing into your UDM-Pro, runningunifi-os shell, thenfs_cliand making an inbound call).
BYOC stands for “Bring Your Own Carrier”, which is what we are doing here. To make this entire SIP thingy work, we need to add a SIP trunk to Twilio, and instruct Twilio to use this SIP trunk for all incoming and outgoing calls.
Head over to BYOC trunks and create one. We will need a few items here:
- Termination SIP Domain (we just created one!)
- From Domain
- Origination Connection Policy
Set both Termination SIP Domain and From domain to the one we’ve already created.
Go ahead and create an Origination Connection Policy. This is where we’ll tell Twilio to use our SIP trunk for all outgoing calls. Here you will need your external IP addreass again and add it as sip:1.2.3.4:6767. Leave weight and priority as default, but make sure your sip address points to the port 6767. Save and you’re done with Twilio side.
Unifi Talk
Now the fun part. Head over to your Talk application, Settings > System Settings > Add Third-Party SIP Provider. A few things are important here:
- Custom Fields
- DID Number(s)
- ACL IP addresses
Let’s begin with the Custom Fields. We need to add a few things here:
proxy- this is the SIP domain we created earlier, but with a caveat: instead ofmydomain.sip.twilio.com, you’ll need to usemydomain.pstn.umatilla.twilio.com- this is a localized SIP trunk domain (umatillahere stands for US-West Oregon andpstnindicates that it’s a trunk, roughly speaking)username- your phone number without+password- your password (from when you’ve created your SIP domain credentials)register-false(this is important!)transport-tcp(I’m not sure it actually does anything)dtmf-type-rfc2833(this, again, may not do anything)
Next, let’s add the phone number. Type it in as a proper E.164 number, e.g. +12345678910 and hit Enter. Done!
Finally, ACL domain ranges. I’ve added two, specific to my US-West Oregon region: 54.244.51.0/30 and 54.244.51.0/24 (the last number is the CIDR). This is important, because Unifi Talk will only accept calls from these IP addresses. If you’re going with a different Twilio region, find the proper ranges for your region here: Twilio’s IP addresses for SIP services. Add both Signaling and Media IP ranges.
We are almost done! Save this new Third-Party SIP Provider, and head back to the System Settings. Toggle “Create Static Signaling Port” to true, and make sure that if you have an upstream router, it will proparly forward the port 6767 to the port 6767 of your UDM-Pro.
Final Touch
Now all you need to do is assign your new phone number to a user and their phone device. Head over to the “Users and Groups”, click “Edit”, then “Manage”, and in “CHANGE PHONE NUMBER” select your new SIP number. Save, and you are done!